Are you tired of using lip balms with unknown ingredients? Making your own lip balm is easier than you think! We’ll show you how to make a personalized, nourishing lip care product. Say goodbye to dry lips and hello to smooth, hydrated lips with your own homemade lip balm, DIY lip balm, natural lip care, and personalized lip treatment.
Introduction to Lip Balm Making
Making your own lip balm at home is rewarding and fulfilling. It lets you control the ingredients and customize them for your needs. You can create a soothing blend or try out natural flavors in your DIY lip care.
Benefits of Homemade Lip Balm
One big plus of making your own lip balm is using clean, high-quality ingredients. Many store-bought lip balms have chemicals that aren’t good for sensitive skin. By making your own, you can pick ingredients that are gentle and nourishing for your lips.
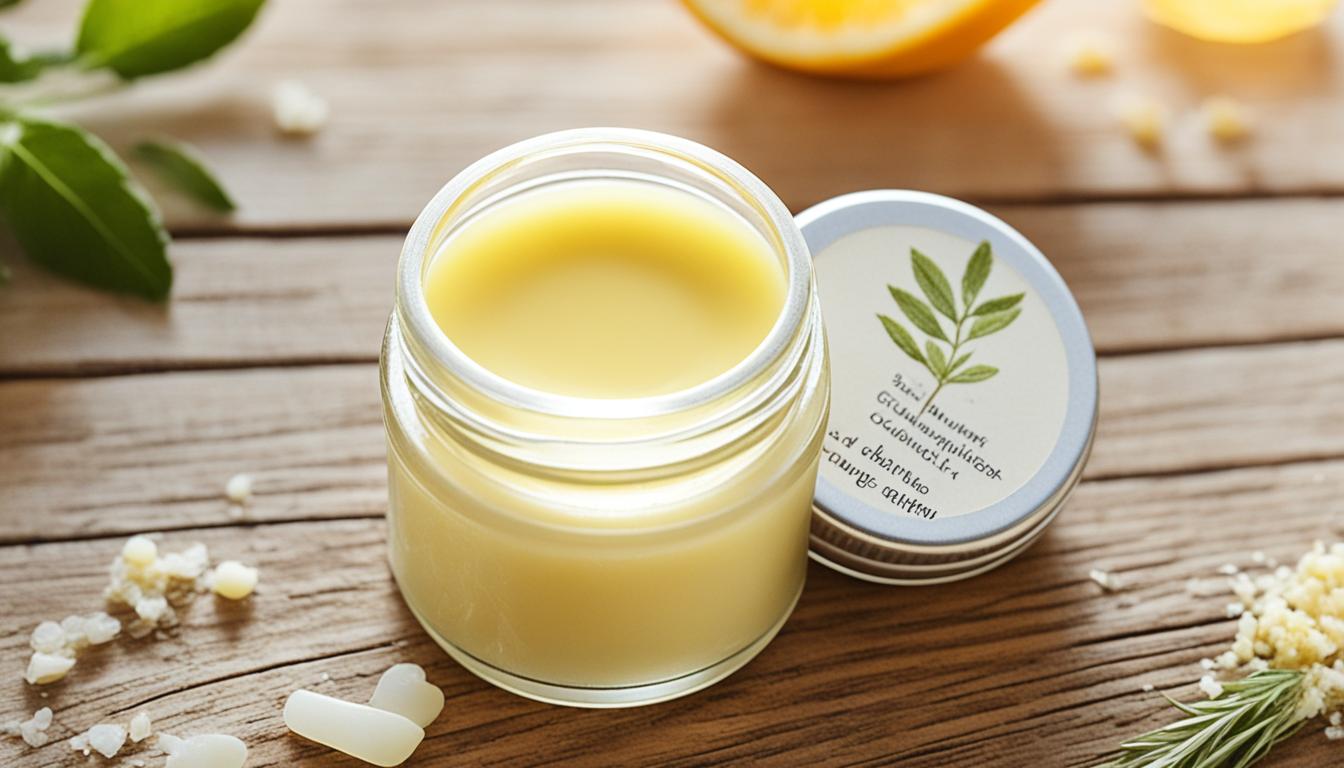
Essential Ingredients Needed
Beeswax, butters like shea or cocoa, and carrier oils such as coconut or jojoba are key for homemade lip balm. These ingredients keep your lips moisturized, protected, and feeling smooth. You can also add natural flavors or essential oils to make it your own.
Learning about lip balm making opens up a world of self-care and creativity. Whether you want to nourish your lips or try new formulas, homemade lip balm is full of possibilities.
Preparing the Lip Balm Base
Creating the perfect lip balm starts with a solid foundation. The lip balm base is the core of your homemade lip treatment. It’s crucial to get it right. We’ll guide you through measuring and melting the essential ingredients for your customized lip balm.
The key ingredients are beeswax, coconut oil, and shea butter. These work together for long-lasting hydration, protection, and a smooth texture. Start by measuring the right amounts of each ingredient for a balanced ratio.
Then, melt the ingredients. Heat the beeswax, coconut oil, and shea butter in a double boiler or a heat-safe container over simmering water. Stir until everything is fully melted and combined, creating a smooth base.
By preparing the lip balm base carefully, you’re setting the stage for a customized lip treatment. With the melted ingredients ready, you can now add natural flavors and essential oils to your creation.
Customizing Your Lip Balm
Customizing your homemade lip balm lets you explore natural flavors and essential oils. This is your chance to get creative and make something you love. You can make a lip balm that soothes dry lips, refreshes, or even gives you health benefits.
Adding Natural Flavors and Essential Oils
Natural flavors can make your lip balm special. Choose from ingredients like peppermint, vanilla, or citrus to make a balm that’s both good for you and tastes great. These natural lip balm flavors are not only tasty but also offer a nice scent.
Adding essential oils to your customizing lip balm can elevate it. Try using lavender, tea tree, or rosemary for different benefits. These essential oils for lip care can moisturize, soothe, and protect your lips.
It’s important to try different things to find what you like best. Whether you want a simple, fresh balm or something more complex, there are many options. Customizing your lip balm lets you explore and find what works for you.

Beauty Hacks: Lip Balm Edition
Homemade lip balm is great for soft, moisturized lips. It’s also a versatile beauty tool. Learn how to use it for more than lip care.
One surprising hack is for flyaway hairs. Apply a bit of lip balm to them, and they’ll be smooth. It’s perfect for baby hairs or fine strands around the face.
Lip balm can also moisturize your cuticles. Its nourishing ingredients soften and condition the skin around your nails. Your hands will look well-groomed and polished.
For minor skin issues like dry skin or small cuts, use your lip balm. Its emollient properties soothe and hydrate, helping with relief and healing.
Want a natural glow? Use lip balm as a highlighter. Dab it on cheekbones, brow bone, and cupid’s bow for a subtle shine.
Discover the many lip balm beauty hacks and multipurpose lip balm uses. Get the most from your homemade balm and enjoy experimenting with your beauty routine.
Melting and Pouring the Lip Balm
Now that you have all the ingredients ready, it’s time to make your lip balm. Melt the ingredients carefully and pour them into your containers. This step needs a gentle touch, but it’s worth it.
Choosing the Right Containers
You have many options for lip balm containers. Think about the look you want and the practicality of the container. Popular choices include lip balm tins, jars, and tubes. Try different sizes and shapes to find the best fit for your lip balm.
Make sure the containers you pick are clean and dry. This ensures your lip balm looks professional.
Pour the melted lip balm into the containers slowly. Leave a bit of space at the top for the balm to expand as it cools. Be careful not to spill or pour unevenly.
With the right method and containers, you’ll have lovely homemade lip balm. You’ll be excited to share it with your loved ones.
Cooling and Setting Your Lip Balm
After filling your homemade lip balm into containers, it’s key to let it cool and set right. This step is vital for the final texture and how long it lasts. By doing it correctly, you get a smooth, consistent, and long-lasting lip balm. It will keep your lips hydrated and protected.
First, let your freshly made lip balm cool at room temperature for a few minutes. This lets the ingredients start to solidify and shape up. When the surface feels hard, put the containers in the fridge for 15-20 minutes. The cold will help the lip balm set fully and get that firm, creamy feel.

While the lip balm cools and sets, don’t touch it or move the containers. This can mess up the solidifying and make the texture uneven or lumpy. Once it’s fully cooled and set, your homemade lip balm is ready to use. It will be smooth, hydrating, and last a long time.
The cooling and setting process is key for your lip balm’s success. By following these easy steps, you can make sure your lip care products are top-notch. They’ll give your lips the nourishment and protection they need.
Labeling and Packaging Tips
After making your homemade lip balm, it’s time to finish it off. Adding labels and packaging makes it look great and shows off your style. These tips are great for making your lip balm labels and packaging look good for yourself or as gifts.
Creative Labeling Ideas
Creating your own lip balm labels lets you show off your creativity. Use fun fonts, playful graphics, or even your own handwriting. Try different materials like kraft paper or waterproof vinyl for a unique look.
Be creative with what you put on your labels. Include the product name, ingredients, and maybe some fun taglines or a personal message. Putting effort into your labels turns a simple lip balm into a special gift.
Gifting and Sharing Your Homemade Lip Balm
Creating your own homemade lip balm lets you share it with others. You can give it to friends, family, or co-workers. It’s a thoughtful and unique gift. Imagine the joy when someone opens a custom-made lip balm you made.
Sharing your DIY lip balms is a great way to spread love and show off your skills. Put them in small jars or tins and add custom labels or decorations. This makes the gift look better and shows you care.
If you’re feeling creative, add your lip balm to bigger gift baskets or sets. Include other handmade beauty products or accessories. This shows off your lip balm and your DIY skills.
However you present your homemade lip balm, the key is to share your passion and creativity. It could be a small thank-you or a big gift. The personal touch you add will be valued and kept close.
Storing Your Lip Balm for Longevity
Keeping your homemade lip balm fresh is key to enjoying it fully. Proper storage helps keep it effective and high quality. Follow simple tips to keep your lip balm ready to use for longer.
Temperature control is crucial for your lip balm’s life. Don’t let it get too hot or sit in the sun. This can make the ingredients melt or break down. Keep it in a cool, dry spot, like a bathroom cabinet or a drawer. This keeps your lip balm’s shape and makes it easy to apply.
Also, remember how long your lip balm will last. Homemade lip balms usually last 6 to 12 months if stored right. Check the expiration date or remember when you made it to use it before it goes bad. By watching the shelf life and storing it well, you can enjoy your lip balm for many months.


